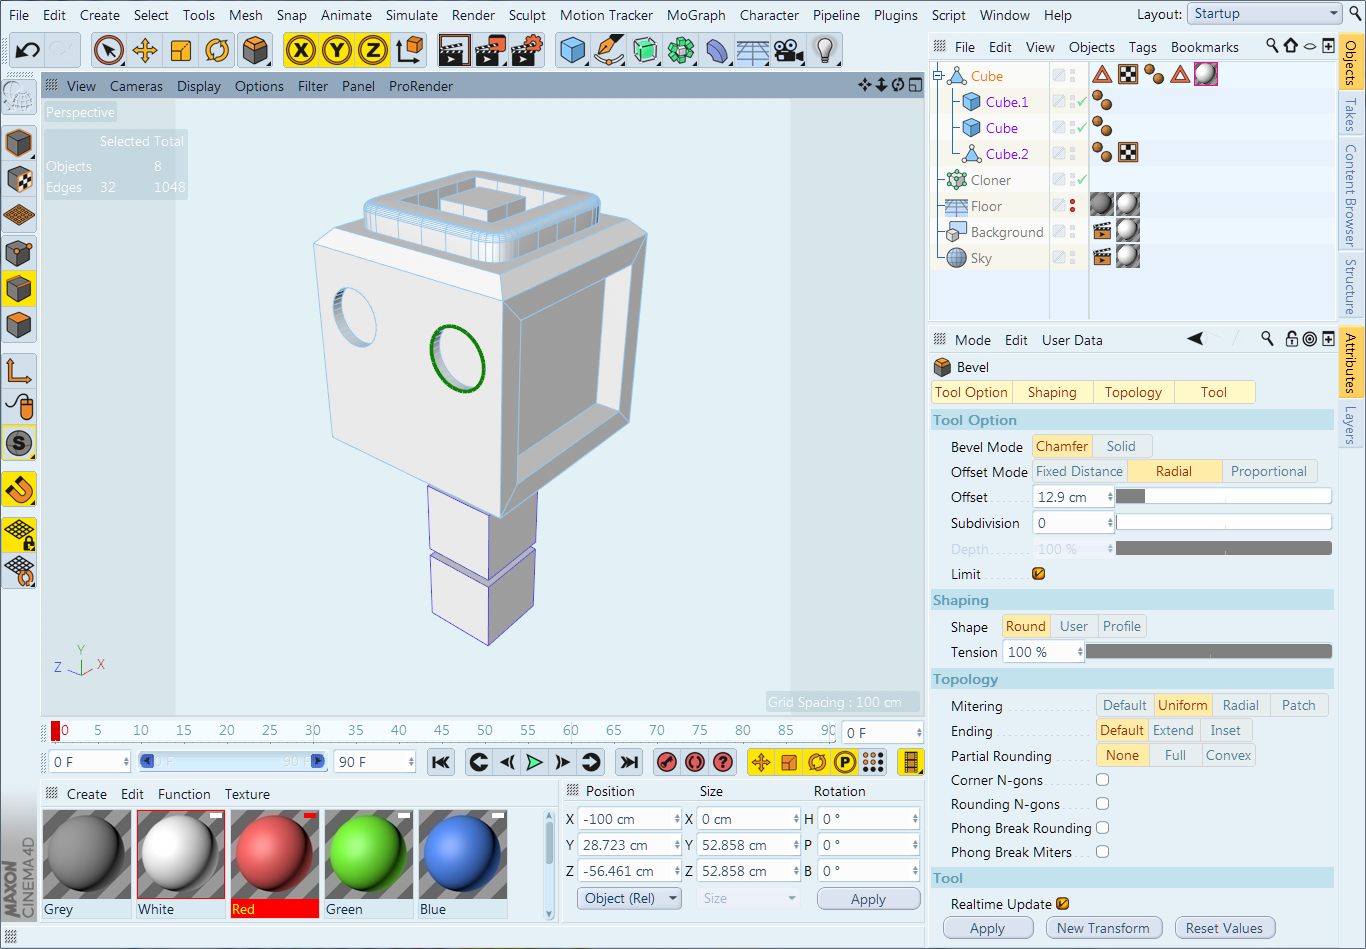
Tips for better, swifter interaction with Cinema 4D on large 4K screens
Large UHD screens require a new paradigm for whole interface layout :
- there is enough place to have most of the commands directly accessible
- drop down menus are no longer needed
- mouse movements must be more precise
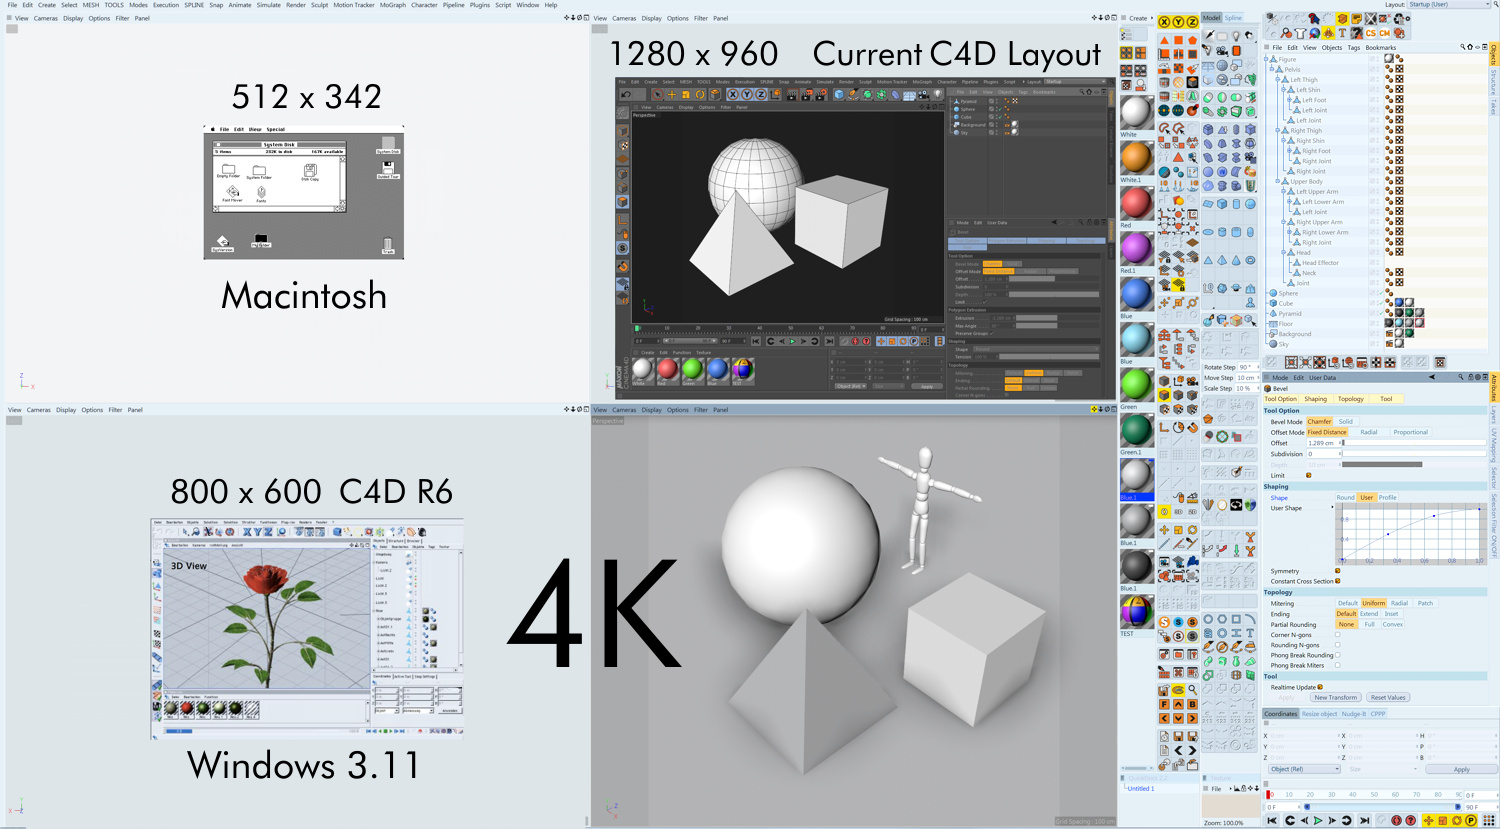
Over a year ago I replaced my 24" HD screen with a 40" 4K screen.
Screen area is much bigger, while the image is sharper.
Such big screen required a total rethinking of interface layout. Below are
my observations and some tips related to the improvement of C4D interface
ergonomy on a large screen :
Dropdown menus are obsolete : on big UHD screens there is no point to use drop-down menus. There is enough surface to keep most of commands directly available. Drop down menus were useful on small screens. First Macintosh offered 512x342 display in 9" (see below). On such tiny area, drop-down menus were the best solution. Today we have roughly 100 times more pixels on 10-20 x larger area. On such large screen, you can have all necessary commands directly available. Especially cascading menus should be avoided - such menus require too many precise mouse clicks, and moving the mouse on long distance. I almost never use C4D drop-down menus, except where there is no other option (eg. Tag menu, Viewport Filter menu).
Group controls in one area : C4D standard
interface provides controls (toolbars, managers etc...) all around the Viewport
- such layout is not effective on large 4K screens. Large distance between
elements on the screen requires to moving mouse pointer at longer distances.
By keeping all commands grouped in one part of the screen you reduce mouse
cursor travel distance.
I have decided to keep all the interface on the right side of the screen.
Integrate plugins into C4D toolbars : If you use numerous plugins, it can be frustrating to run them from plugins menu, better place them among C4D native tools of similar functionality. Numerous plugins have icons design that doesn't match C4D icons - you can easily replace such icon with your own pictures.
Avoid duplicated commands : I use keyboard
shortcuts for the most frequently used commands. Icons on toolbars are used
by less used commands. I have removed from toolbars the commands assigned
to keyboard. In this way, the toolbars remain less cluttered without duplicated
commands and I am forced to select those commands only from keyboard - it
helps with memorizing shortcuts.
From commands assigned to keyboard, I kept on toolbars only mode commands
that become highlighted when operational (eg. Axis, Snapping, Quantize) -
Their icons function is limited to displaying the state of such command and
letting me know that I am let say in Model mode, in Axis mode and snapping.
The best would be to have such information displayed directly on keyboard
- but since it is impossible, I have to rely on icon highlighting on the screen.
There are also some icons that offer additional functionality when clicked
upon (eg. components selection transfer when shift-clicking on a different
component icon) So such icons remain on toolbar.
| MAIN PAGE |